Friday Feature – Fitness Tip: How Many Calories Are In 1 Pound of Fat?

Counting calories may seem obnoxious or time-consuming.  However, if we are trying to lose fat it is almost impossible to have continued success without knowing the amount of calories we are actually consuming.

In order to lose one pound of fat, we must burn an additional 3,500 calories!  That’s how many calories are in one pound of fat, my friends.  That number may be overwhelming if we try to swallow it all at once.  However, it is MUCH safer to lose the fat slowly.  We can do this by breaking up the 3,500 calorie deficit among a number of days.  If we want to lose one pound per week, then we would maintain a daily caloric deficit of 500 calories (500 x 7 = 3,500).  That doesn’t seem too hard, does it?  We can even get more aggressive and go for a 1,000 calorie deficit per day to obtain a 2 pound loss in a week.  With that being said, you’ll want to make a mental note that two pounds per week is commonly accepted as the maximum rate for safe and healthy fat loss.  Losing fat too quickly has its disadvantages, so it is never recommended to take on more than a 1,000 calorie deficit per day.  And, based on your specific body type, it’s usually recommended to be somewhere in that 500-1,000 caloric deficit range.

You can obtain this calorie deficit by eating less calories, getting more exercise, or both!  So, if you are actually trying to lose fat then it’s almost necessary to count your calories.  Let’s get out those calculators and start adding up the numbers!

Breakfast In a Bowl

This is such a delightful breakfast option.  It includes a healthy balance of proteins, carbohydrates, and fats and is healthy to boot!  The beauty of this recipe is that you actually make it the night before so the oats can soften.  Why is this so awesome?!?!?  Because when I wake up in the morning my breakfast is already made!  I usually make this when I know my next day will be crazy-busy.  It’s a great on-the-go breakfast too.  The way all the flavors and textures meld together is so yummy!  I love that I can choose from a variety of yogurt options (which is bound to please almost everyone).  One morning I can have raspberry, another morning I can go for peach, and I can even have key lime pie for breakfast!  This recipe is very adjustable in that it’s easy to reduce some yogurt and add cottage cheese and/or oats (if going for more protein at breakfast).  You’ll have to give this a try and let me now how you like it.  I’m willing to bet that most of you will enjoy having a recipe like this in your breakfast rotation.

Breakfast in a Bowl
Adapted from Jillian Michaels, “Making the Cut”

6 oz. non-fat yogurt (such as Yoplait Light)
1/3 cup cottage cheese
1/4 cup rolled oats, uncooked
1 Tbsp. slivered almonds
1 tsp. vanilla extract
Pinch of Allspice (don’t use too much or it will be too strong)

Combine all ingredients together and refrigerate overnight.  (This will soften the oats.)  Serve straight from the fridge.

Serves 1.

Nutritional Information
Calories:  291.7
Protein:  19.1g
Carbs:  37g
Fat:  6.2g (1.4 = Sat)
Fiber:  2.8g

Fit Fettuccine Alfredo

Photo by Josie Fox Photography

I’m not gonna lie.  If Rocco had been in my kitchen the day I tried this recipe for the first time, I’m pretty sure I would have given him a big, fat kiss on the forehead!  Fettuccine Alfredo has always been a forbidden food around my house because the traditional way of making it is LOADED with fat and calories (therefore has never been favorable to the hips, thighs, or abs).  This recipe is a true blessing in my life and I’m so happy to know that I can actually eat this meal without the guilt!  I usually make it with shrimp, but it’s also fabulous with grilled chicken strips.  I must say, I was amazed at the amount of sauce that ends up covering the pasta.  I was quite skeptical in thinking that the only way to have the calorie and fat count so low must be because there isn’t a lot of sauce.  No, no, no!  There is PLENTY of sauce and this made me that much happier!  And, as a heads up, not all grocery stores carry 2% Greek yogurt.  However, it is always stocked at Good Earth and the Sunflower Market (for those of you who live in Utah).  The 2% Greek yogurt helps add to the creaminess of the the dish and I do not recommend going with 0% fat yogurt (which tends to be easier to find in traditional grocery stores).  Do not worry though. . . the extra trip to the extra grocery store is beyond worth it (in my humble opinion!).  Thanks again to Josie for the great photo!

Fit Fettuccine Alfredo with Shrimp
Adapted from Rocco Dispirito’s, “Now Eat This! Diet”

6 oz. whole wheat fettuccine
1 lb. shrimp, peeled and deveined, tails removed
2 tsp. butter
3 garlic cloves, minced
2 tsp. cornstarch
2 grates of a nutmeg
3/4 cup low-fat, low-sodium chicken broth
1/2 cup grated Parmesan cheese
3/4 cup 2% Greek yogurt (such as Fage Total)
Salt
Freshly ground black pepper
Chopped parsley

Bring a large pot of salted water to a boil.  Add the fettuccine and cook according to the package directions.  In the last few minutes of cooking, add the shrimp and cook until the shrimp is pink and no longer translucent; drain.

While the pasta is cooking, melt the butter in a large nonstick sauté pan over medium heat.  Add the garlic and cook until it is fragrant, about 2 minutes.

Meanwhile, combine the cornstarch and nutmeg grates in a small bowl.  Whisk in the chicken broth until smooth.  Pour the mixture into the sauté pan, raise the heat, and bring the sauce to a simmer, whisking occasionally.  Whisk in 1/4 cup of the cheese until it has melted.  Remove the sauté pan from the heat and whisk in the yogurt until the sauce is smooth.

In a large bowl, toss the cooked fettuccine and shrimp with the sauce.  Season with salt and pepper to taste, if desired.  Top the pasta with the remaining 1/4 cup cheese and chopped parsley, divide amongst 4 plates, and serve.

Serves 4.

Nutritional Information (Per Serving)
Calories:  366
Protein:  39g
Carbs:  30.8g
Fat:  8.2g (3.9g = Sat.)
Fiber:  4.6g

Grilled Chicken Fajitas

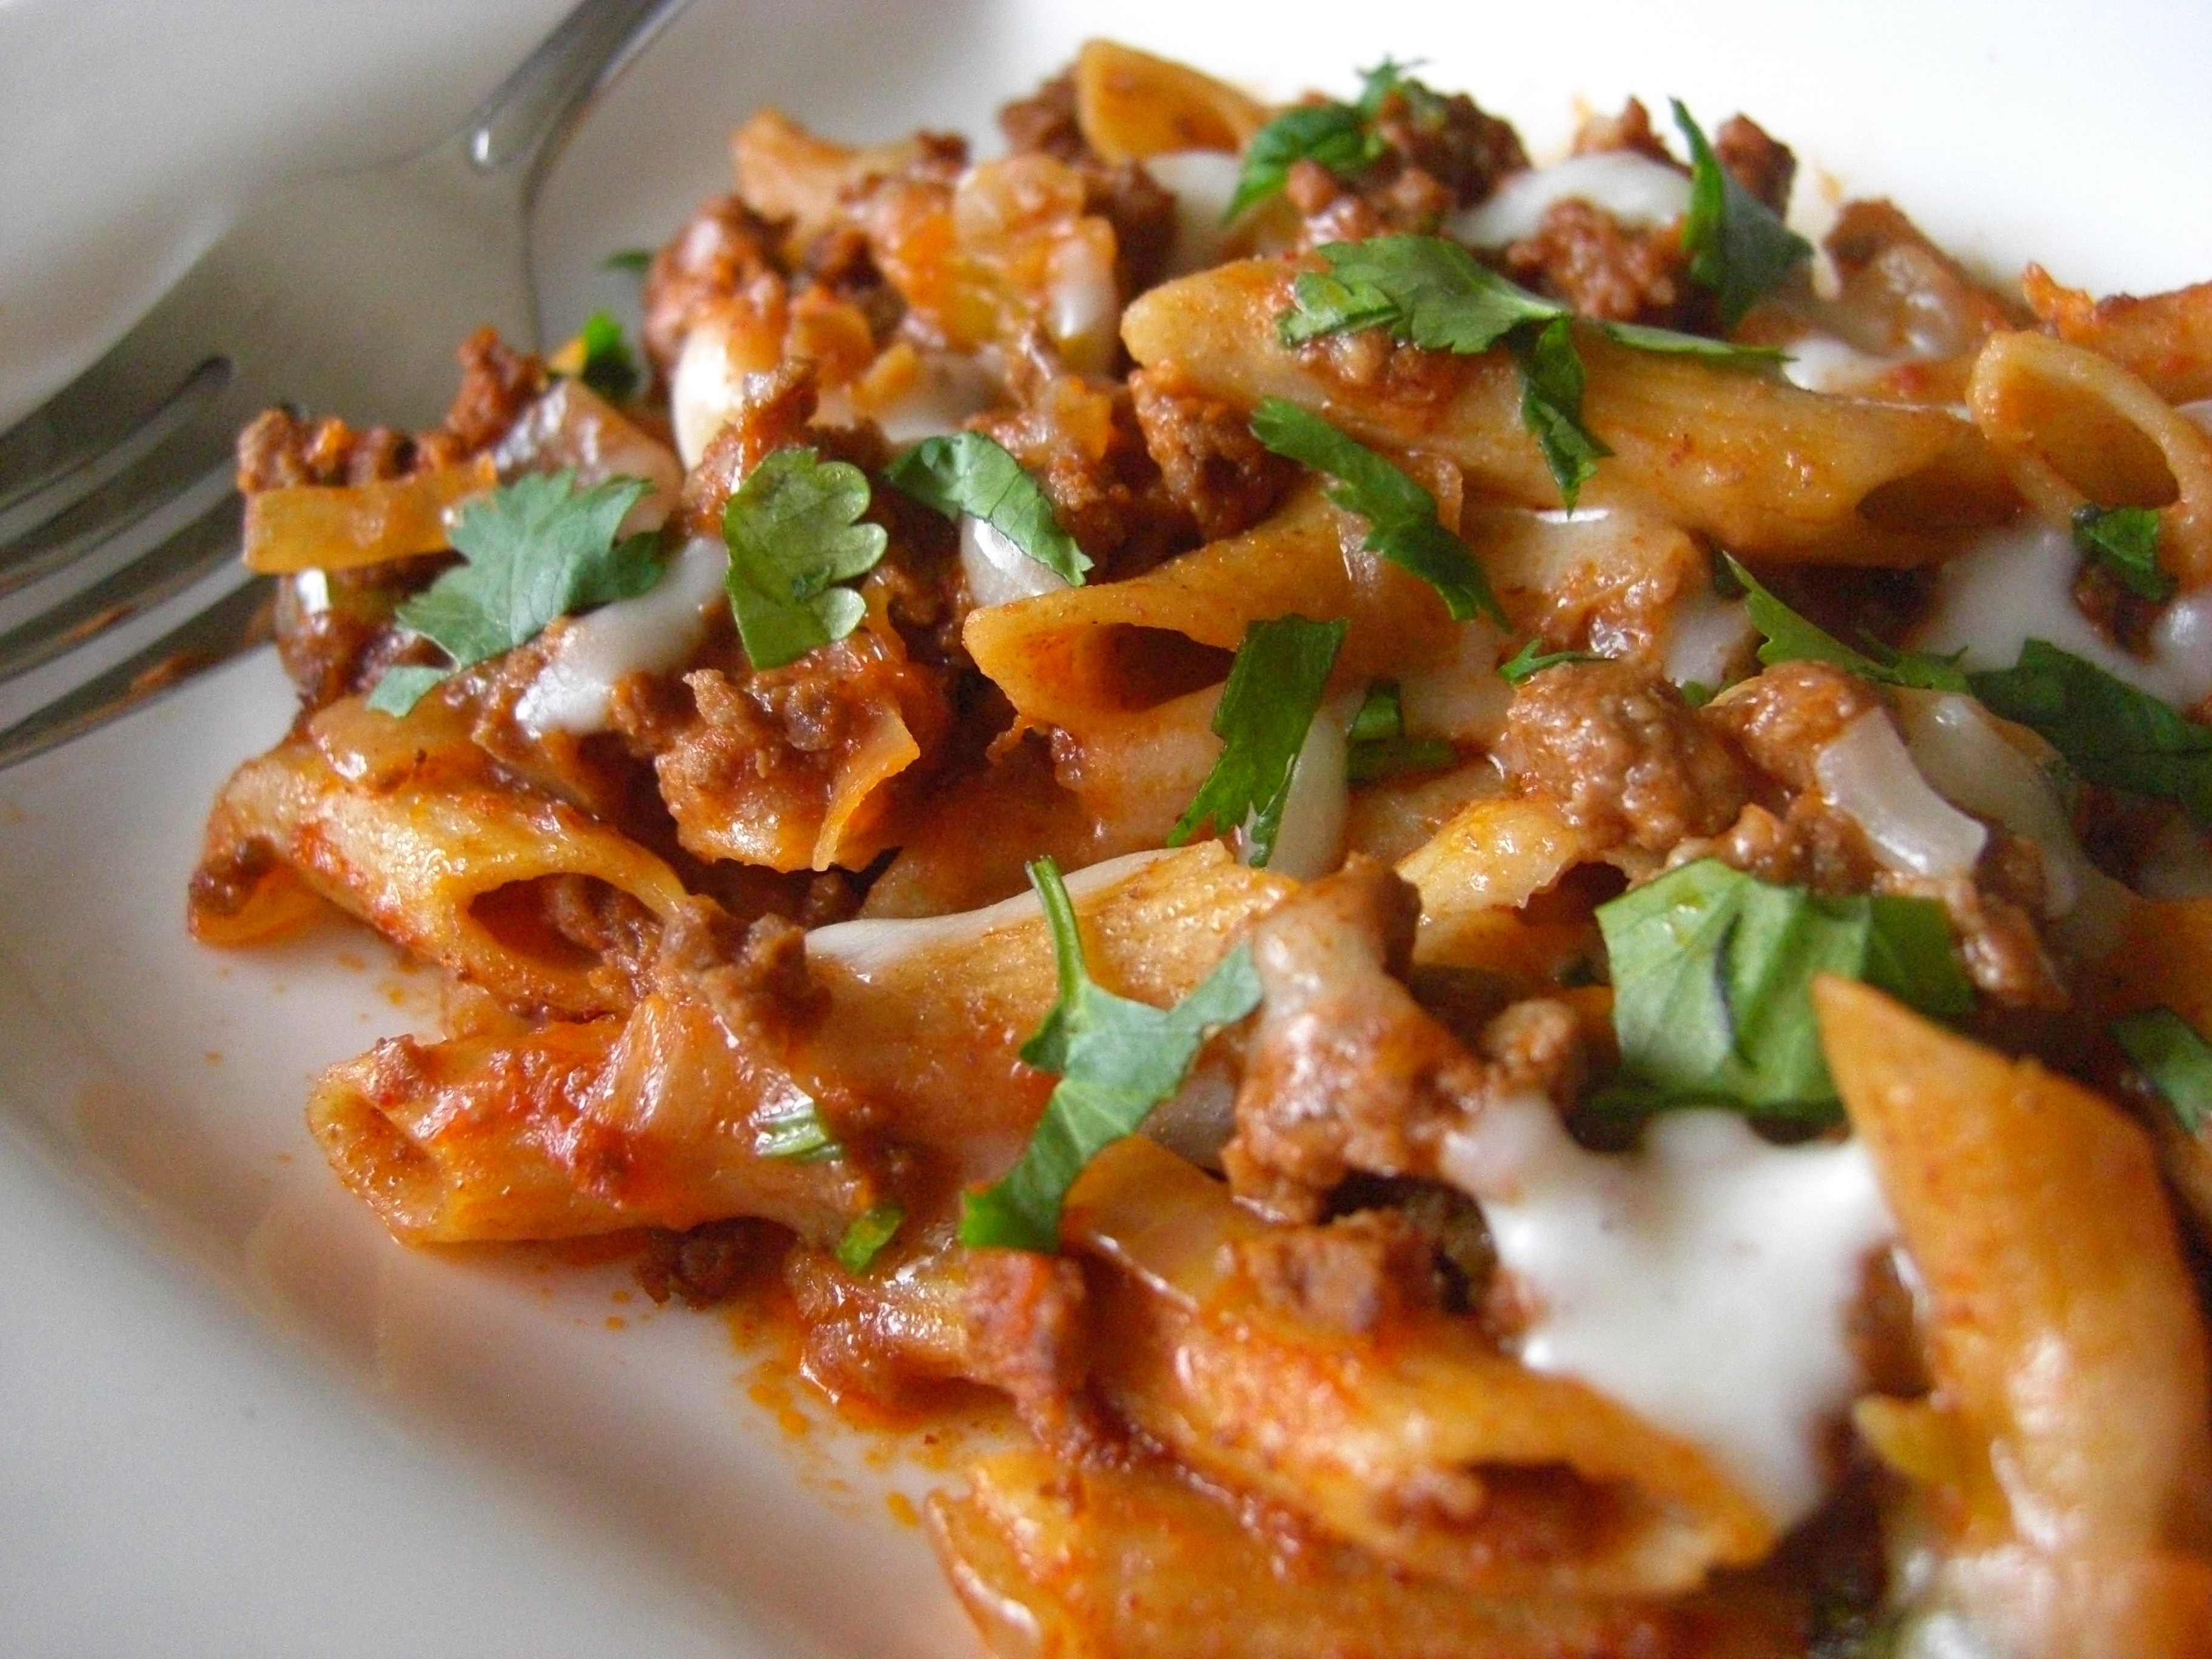
I am a fajita-lovin’ girl!  I love, Love, LOVE them!  That being said, I make them in all sorts of varieties; however, these ones are my very favorite (at least up until this point)!  The marinade that is used here is downright delicious.  I love how it all melds together in a way that was hard for me to even imagine until I tried it.  That lime, Worcestershire sauce, sugar, cilantro, jalapeno, and garlic are so tasty!  And, to boost the flavor, you put the reserved marinade on the veggies after you grill them which brilliantly brings all the flavors together in this fajita.

I have found great success in grilling these on our charcoal grill, as well as my indoor grill (George Foreman).  Why do I know this????  Well, there’s no way I’m prepping the charcoal grill in the snowy winter and there’s also NO WAY I’m living through the winter without my favorite fajita.  Thus…I found out very quickly that I can get similar results indoors!  I have also found that if I use chicken tenders, then I do not need to butterfly any chicken breasts.  This is a small time saver for me so that is usually what I tend to use most.   I served these for a dinner party recently and they were a huge hit! You’ll have to let me know if this variation of fajita makes it to the top of your list too!

Grilled Chicken Fajitas
Source: adapted from Annie’s Eats, originally from Cook’s Illustrated

Ingredients:
1/3 cup freshly squeezed lime juice
4 tbsp. olive oil, divided
3 cloves garlic, minced or pressed
1 tbsp. Worcestershire sauce
1½ tsp. brown sugar
1 jalapeño, seeded, ribbed and diced
1 1/2 tbsp. minced fresh cilantro
1 tsp. salt
3/4 tsp. pepper
2 lbs. boneless, skinless chicken breasts, butterflied (or the equivalent in chicken tenders)
1 large red onion, sliced into ½-inch thick slices, rings not separated
2 large bell peppers, stemmed, quartered and seeded
16 extra thin corn tortillas (Such as Mission Yellow Corn Tortillas – Extra Thin = 40 calories each)

Directions:
In a medium bowl, whisk together the lime juice, olive  oil, garlic, Worcestershire sauce, brown sugar, jalapeño, cilantro, salt and pepper.  Reserve 1/4 cup of the marinade; set aside.  Place the chicken breast halves (or tenders, if using) in the marinade, cover with plastic wrap and refrigerate for 15 minutes. Lightly oil both sides of the onion rounds and peppers with olive oil.  Season with salt and pepper.

Meanwhile, prep your grill . . . charcoal, gas, or indoor.  (We typically use a charcoal grill, so I’ll give step-by-step instructions on how to use it.)  Using a large chimney starter, ignite 6 quarts of charcoal briquettes and burn until the coals are fully ignited, about 20 minutes.  Empty the coals into the grill, spreading them in a single layer.  Place an additional 20 unlit coals over the lit coals on one side of the grill to create a two-level fire.  Place the grill grate over the coals and allow to heat for 5 minutes.  Scrape the grate clean with a grill brush.  (For a gas grill, light all burners to high, cover and heat grill until hot, about 15 minutes.  Leave one burner on high and turn the rest down to medium.)

Remove the chicken breast from the marinade and transfer to the hotter side of the grill; discard the left over marinade.  Place the onion rounds and peppers on the cooler side of the grill.  Cook the chicken until it is well browned, 3-4 minutes.  Using tongs, flip the chicken and continue grilling until it is no longer pink inside (or an instant-read thermometer inserted into the center reads 160˚ F.)  Meanwhile, cook onions and peppers until spottily charred and crisp-tender, about 8-12 minutes, turning once or twice as needed.*  When the chicken and vegetables are done, transfer them to a large plate and tent with foil to keep warm.

In 2 or 3 batches, transfer the tortillas in a single layer to the now empty grill on the cooler side.  Cook until warm and lightly browned, about 20 seconds per side.  When the tortillas are done, wrap them in a clean kitchen towel or foil.  (Alternatively you can warm the tortillas according to package directions.)

Separate the onions into rings and place them in a medium bowl.  Slice the bell peppers lengthwise into ¼-inch strips and add them to the bowl with the onions.  Add 2 tablespoons of the reserved unused marinade and toss well to combine.  Slice the chicken into ¼-inch strips and toss with the remaining 2 tablespoons of reserved marinade in another bowl.  Arrange the chicken and vegetables on a large platter with the warmed tortillas and serve.

Serves 8.

*Optional Cooking Tip for Veggies:  I will occasionally send the chicken outside to the grill with my husband.  While he is cooking the chicken, I grill the veggies indoors.  I will heat my George Foreman grill.  While it is heating up, I cut the onions & peppers into strips.  I then lightly grease the grill with cooking spray and then throw the onions and peppers on the grill and cook until crisp-tender and slightly charred.

Nutritional Information (Per Serving = 2 Fajitas)
Calories:  263.2
Protein:  25.6g
Carbs:  22g
Fat:  9.2g (4g = Sat.)
Fiber:  2.9g
Sugar:  5g

BBQ Chicken Pita Pizza

Photo by Josie Fox Photography

First off . . . sorry for the lack of a Friday Feature last weekend!  My internet was down and when it came back to life I had a night that did not spare any free time!  I hope you’ll forgive me on that one.  Maybe this recipe can help make up for it because it is a favorite in my house and has always been a crowd pleaser whenever I make it for others!

This BBQ pizza can be thrown together in a matter of minutes!  It’s a constant go-to meal when I’m in a rush, but still want something tasty.  All the ingredients are staples in my house, so I can always rely on using this recipe at any time.  I LOVE the rosemary that is used on the pizza.  It adds a very gourmet taste and really rounds out all of the flavors.  When I first saw this lovely herb in the recipe I found it slightly odd, but tried it anyway and was totally wowed!  You’re going to love this pizza!  (A quick thank you to the talented Josie Fox for the great photo!)

BBQ Chicken Pita Pizza
Adapted from Bill Phillips, “Eating For Life”

1 whole-wheat pita (120 calories)
2 T. Light BBQ Sauce (such as Kraft)
4 oz. cooked chicken breast, cut in bite-sized pieces
1 slice red onion, diced
1/4 tsp. dried rosemary (or 2 tsp. fresh rosemary)
1/4 cup reduced-fat mozzarella cheese, shredded

Preheat oven to 425.

Place pita on a baking sheet and spoon BBQ sauce evenly over the pita.  Top with chicken, onions, rosemary and cheese.

Bake for 10 to 12 minutes or until the cheese is melted, the pizza is heated through and the pita is crisp.

Slice, serve, and enjoy!

Serves 1.

Nutritional Information
Calories:  328.6
Protein:  36.3g
Carb:  25.3g
Fat:  5.6g (2.5g = Sat)

Sunshine & Hashbrowns

A few mornings ago my sweet Beau jumped at the chance to make us breakfast.  Hands down – he is the best breakfast cook in the family!  Additionally, you must know that he is also great in the kitchen and we definitely share an affection for good food.  This particular morning he got creative by using our leftover potato casserole.  He simply took a serving of the casserole, placed it in a nonstick skillet, warmed it through on both sides (creating a slightly crisp layer on both sides) and topped it with an over-easy egg.  He took one bite and declared, “If we ever open a restaurant, I guarantee we could serve this all day long!”   I told him that if it was truly that delicious then we better pass the idea along to my readers.  So – here you go!  I also happen to know that the hashbrowns are killer without the egg too.  Why do I know this?  Because I am not a fan of runny yolk and always request my eggs fully cooked (I’m such a party pooper when it comes to runny yolks).  So, however you decide to enjoy these hashbrowns I know you won’t be disappointed.  I’m pretty sure that Beau would be happy to eat this for breakfast every day for the rest of his life.

Sunshine & Hashbrowns
Beau Original

1 serving size of Baked Potato Casserole (about 1 cup)
1 whole egg, cooked over-easy or sunny-side-up

Heat a nonstick skillet over medium heat.  Place Baked Potato Casserole in skillet and slightly flatten or shape like a pancake.  Cook until crispy on one side and then flip over to other side and continue to cook until crispy and warmed through.  Remove hashbrowns to a serving plate, top with egg, and enjoy!

Serves 1.

Nutritional Information
Calories 247
Protein:  16.2g
Carbs:  27g
Fat:  8g (3.5g = Sat.)
Fiber:  2g

Baked Potato Casserole

This casserole makes an awesome side dish to SO many main dishes.  The taste of this casserole reminds me of the ever popular “funeral potatoes” but it doesn’t have all the fat, no cream-of-whatever soup, and is higher in protein (thank you cottage cheese!).  I’m not kidding; this is FABULOUS!!  I have taken this to many family parties and it is devoured in no time.  Nobody really seems to notice the difference and I feel completely satisfied in knowing that I can eat a serving too without any guilt.  Of course the men in my life tell me that this dish would be awesome with bacon, so if desired . . . top half the casserole with bacon for those who could care less about fat or calorie content.

I usually make the casserole in the oven, but this last time I tried it in the Dutch Oven.  It worked out just as well and complimented our BBQ pork perfectly.  We were THRILLED to have leftovers for a few days (and I’m excited to introduce you to a spin on these leftovers tomorrow).

Baked Potato Casserole

9 medium potatoes, scrubbed but not peeled
4 large cloves garlic, peeled
1 1/2 cups low fat cottage cheese
1/2 cup light sour cream
1 1/2 teaspoon salt
1/2 teaspoon black pepper
1 bunch scallions (green onions), trimmed and sliced
1/2 cup reduced fat sharp cheddar cheese
1/4 teaspoon paprika (original or smoked)

Place potatoes and garlic in a large saucepan and cover with cold water.  Bring to a slow boil over medium heat.  Reduce the heat to low and cook until the potatoes are barely tender, about 15-20 minutes.  Drain and let sit until cool enough to handle.  Grate them into a large bowl (I use my food processor to do this step – it’s fast!); set aside.  Take garlic and place it into a food processor.  Add cottage cheese and process until completely smooth.  Add sour cream, salt and pepper, and process briefly to combine.  Add the cottage cheese mixture and scallions to the grated potatoes and mix well.  Place into a 2-quart baking dish sprayed with nonstick spray.  Top with grated cheddar cheese and paprika.  Bake at 350 degrees for 30-40 minutes.  You can also make this within 2 days before baking – storing it covered in the refrigerator.

Serves 8 fairly generously (you can create smaller portions if wanting to reduce the nutritional information below).

Nutritional Information Per Serving
Calories 177
Protein:  10g
Carbs:  27g
Fat:  3g (2g = Sat.)
Fiber:  2g

Caribbean Pork Kebabs

Oh, how I love summer!  Along with all the lovely things of summer, I love grilling!  Grilling is such a healthy way to prepare your food, but it also means much more to me.  Grilling usually means backyard BBQ’s, lounging around on summer nights with friends and family, a cool kitchen (because the oven doesn’t get used), less dishes, and a very happy husband who LOVES just about anything if it comes off of a grill.

I love kebabs in all sorts of varieties and these are NO exception.  The Caribbean flavors and spices in the marinade really shine through and make these kebabs SUPER flavorful.  Because the marinade has jam in it, some of our carbohydrates get eaten up in the marinade.  But, I’m telling you, it’s worth it because of how delicious these turn out.  You can assemble these however you want (that’s one of the perks of kebabs).  You can make them smaller for the kids, all veggies for the vegetarians, or all meat for the meat lovers.  However you put these together, I hope they bring some love into one (or more!) of your summer nights this season.

Caribbean Pork Kebabs
Adapted from “The America’s Test Kitchen Healthy Family Cookbook”

1 full recipe of Caribbean Marinade (recipe below)
2 lbs pork loin, fat trimmed/removed, cut in 1-inch squares
1 red bell pepper, cut in 1-inch squares
1 green bell pepper, cut in 1-inch squares
1 yellow bell pepper, cut in 1-inch squares
1 red onion, cut in 1-inch squares
8 skewers, wooden or metal

Make Caribbean Marinade (recipe below).  Reserve 1/4 cup.  Combine pork and the remaining marinade in a large zipper-lock bag, press out the air, and seal the bag tightly.  Toss to coat the pork and let marinate in the refrigerator for at least 1 hour or up to 6 hours, flipping the bag occasionally.

Thread the marinated pork, peppers, and onion onto eight long metal or wooden skewers in an alternating pattern, then brush with the leftover marinade still in the bag.  (If using wooden skewers, soak them in water for 30 minutes prior to threading them.  This makes it easier to thread them and also prevents them from catching on fire over the hot grill.)

Preheat grill (you can use a gas grill or a charcoal grill).  Clean and oil the cooking grate on your grill and cook, turning as needed.  Brush reserved marinade on kebabs while cooking . . . usually when you turn/rotate the kebabs.  Cook until the pork and vegetables are lightly charred on all sides, and the pork registers 140-145 degrees.  Transfer the kebabs to a platter, tent loosely with aluminum foil, and let rest for 5 minutes.  (Unless you are not patient like me, then just grab one right off the grill and go to town!)   Serve.

Serves 8.

Caribbean Marinade
3/4 cup Apricot Jam (such as Simply Fruit by Smucker’s)
1/4 cup minced fresh parsley
3 garlic cloves, minced
1 tablespoon olive oil
1 1/2 teaspoons grated lime zest
1 tablespoon fresh lime juice
1 teaspoon ground cumin
1 teaspoon chili powder
1 teaspoon salt
1/2 teaspoon pepper
1/2 teaspoon ground allspice
1/4 teaspoon ground cinnamon

Combine/whisk all ingredients together in a bowl.

Nutritional Information (Per Serving = 1 Kebab)
Calories:  285.5
Protein:  23.8g
Carbs:  26g
Fat:  13.8g (4.5g = Sat.)
Fiber:  1.1g
Sugars:  10.9g

Skillet Chili Mac with Green Chiles

Skillet Chili Mac with Green Chiles | Mimi's Fit Foods

All right; confession time!  My mom occasionally used Hamburger Helper for dinner during my younger years.  There were times when I didn’t love it, but I must admit that those times were rare (I know . . . can you believe it!?).  Now that I have a strong addiction to cooking from scratch, combined with the addiction of making things healthy, I will probably never buy a Hamburger Helper box/mix again.  However, I’m not scared to try to create my own.  With that being said, this is a keeper!  Whether you love or hate Hamburger Helper, this is bound to please us all!  It has a slight resemblance to my younger years, but is SOOOOO much better.  Just the tiny detail that this recipe comes from Cook’s Illustrated (30 Minute Best Recipe Book) means that it is nearly guaranteed to be delicious.  Ground turkey (instead of beef) will also work well in this.  Additionally, the initial recipe adds corn and that is a lovely addition . . . if you can afford a few more calories and carbohydrates in your menu.  I love the fact that you can make this all in one skillet in 30 minutes or less.  This also means fewer dishes, folks!  Let’s pull out that skillet!

Skillet Chili Mac with Green Chiles
Adapted from Mel’s Kitchen Café & 30 Minute Best Recipe

1 tablespoon vegetable oil
1 pound ground beef (93% Lean)
1 onion, minced
3/4 tablespoon chili powder
1/2 tablespoon ground cumin
1/2 teaspoon salt
3 garlic cloves, minced
1.5 teaspoons brown sugar
1 8 oz. cans tomato sauce
1 cups water
4 ounces (1 cup, dry) whole wheat penne pasta
1 4.5-oz can chopped green chiles
2 tablespoons fresh cilantro, chopped
1 cup shredded low fat cheese (just about any kind of cheese is delicious)

Heat oil in a 12-inch non-stick skillet over medium heat. Add the ground beef, onion, chili powder, cumin and 1/2 teaspoon salt. Cook the ground beef until it is no longer pink. Drain off any excess fat or grease. Stir in garlic and brown sugar and cook until fragrant, about 30 seconds. Stir in tomato sauce, water, and macaroni. Cover and cook, stirring often and keeping the heat at a steady simmer, until the macaroni is tender, about 12-15 minutes.

Stir in 1/2 cup of the cheese, green chiles and cilantro and sprinkle remaining 1/2 cup of cheese over the top. Cover and let sit off the heat until the cheese melts, about 2 minutes.

Serves 4.

Nutritional Information (Per Serving)
Calories:  412.0
Protein:  37
Carbs:  33.8
Fat:  14.4 g (5g = Sat.)
Fiber:  5g

Friday Feature – Healthy Cooking Classes

You still slightly inhibited by the world of healthy cooking?  You want a little extra hands-on help?  Problem solved!   I am now teaching personalized healthy cooking classes (in Utah)!  I actually come to your house, show you how to cook in your own kitchen, and you get to choose the menu and the guests.  We have a lot of fun, eat great food together, and you gain more knowledge and confidence as a healthy cook.  It’s PERFECT for a girls-night out!  Come on ladies . . . let’s get cookin’ (and partyin’)!

I just taught a very fun class earlier this week.  The host decided to make it a mother-daughter night (inviting her own daughters as well as her mom, sisters-in-law, friends . . . who also all brought their daughters).  She chose a delicious menu and we went to town making, and then eating it all!  We had so much fun.

To see the dishes we made, you can view them here at Josie Fox Photography.  Josie was at the party and I am honored that she would take these beautiful photos of each of the items we made.  She is super talented.  (I encourage you to look through her blog to see her work . . . she is awesome and affordable and I do not hesitate to recommend her to any of you!)  Don’t worry . . . the recipes to all these pictures will eventually make their way to the blog.  Keep your eyes peeled.

Until then . . . let’s hook up and get your healthy cooking class booked!  We will have fun!