I bought a bag of lemons at Costco. I’m not entirely sure what I was thinking when I bought them, but I certainly wasn’t using them fast enough! So, I started searching for recipe ideas to use them up and this version of chicken and pasta jumped to the top of my list. I love lemony and savory food. It always tastes so fresh and clean to me. This was also a DELIGHT to have right now because it reminded me of spring and while it certainly doesn’t feel like spring right now, it was fun to pretend.
This came together is a snap! That pasta took all of 10 minutes and that was the perfect amount of time to throw some chicken on the indoor grill. Both were practically ready at the same time. A delicious dinner in 10-15ish minutes? Oh, yeah!
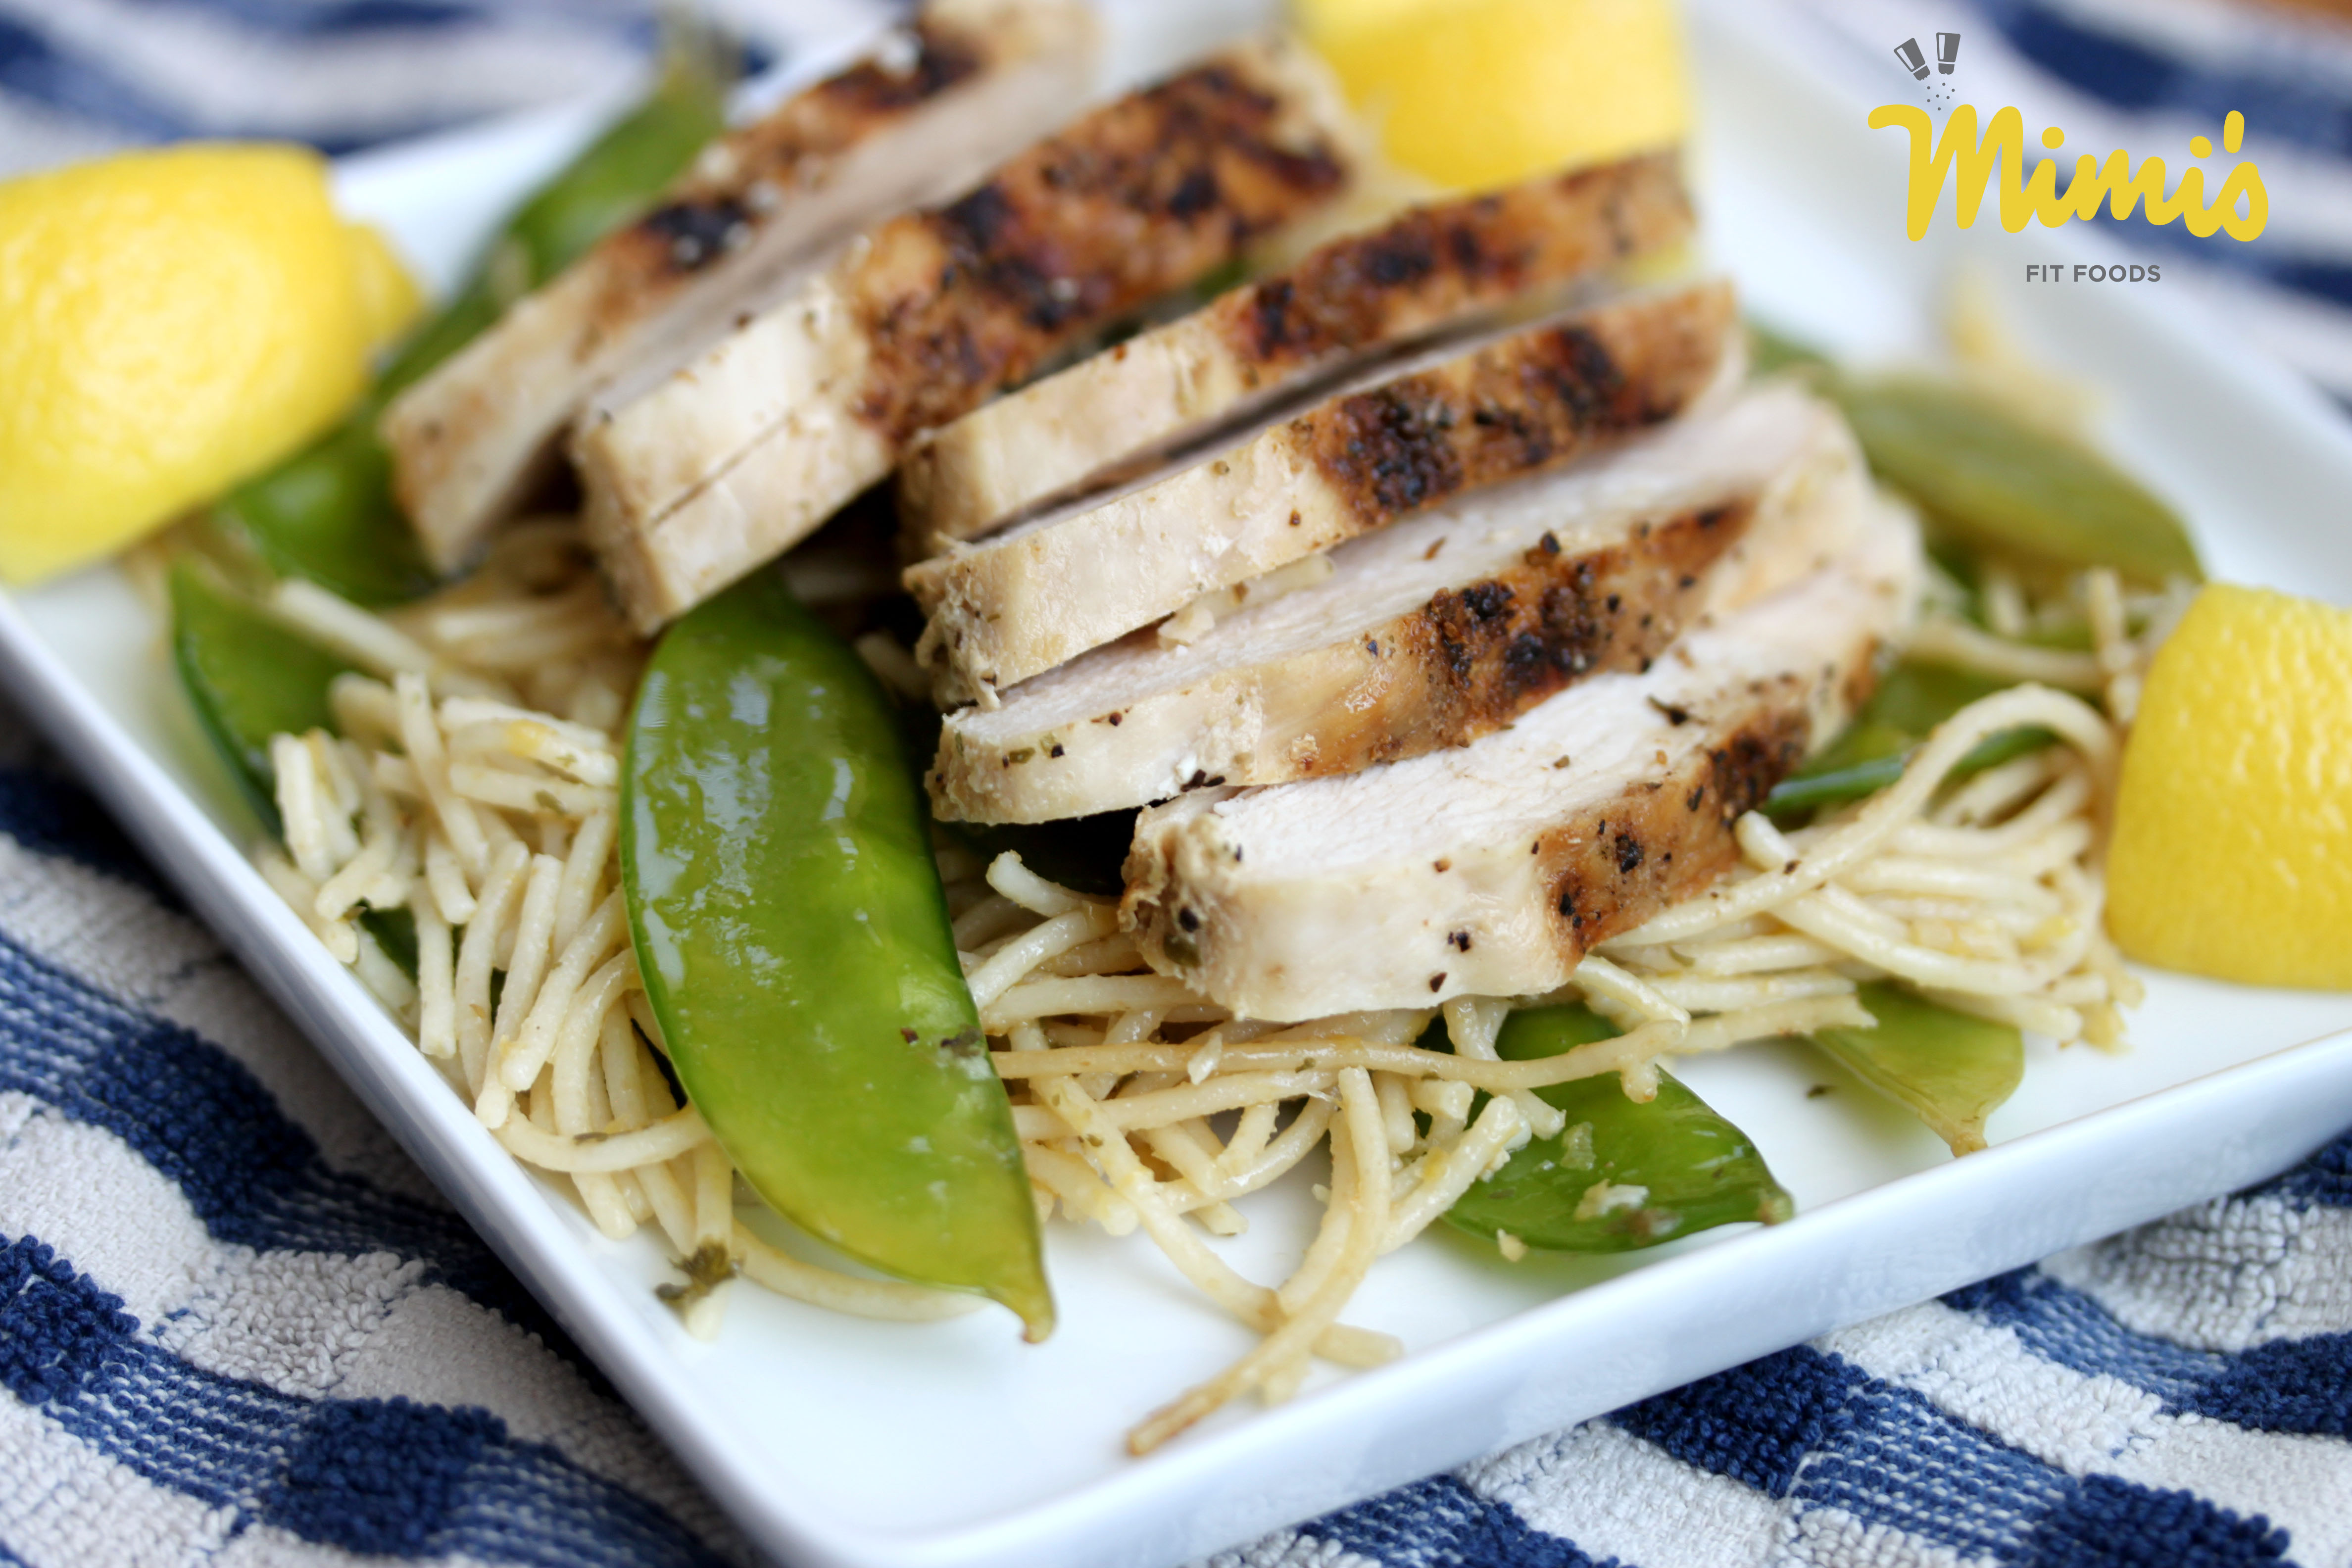
Grilled Chicken Over Lemon & Garlic Pasta
Heavily Adapted From food.com
For the Pasta:
4 ounces whole wheat thin spaghetti
1/2 teaspoon dried parsley
freshly grated lemon zest from 1 lemon
3-4 garlic cloves, minced
2 tablespoons extra-virgin olive oil
juice of 1 lemon (about 2-3 tablespoons)
salt & pepper, to taste
1 cup sugar snap peas
1/4 cup grated parmesan cheese
For the Grilled Chicken:
4 (4-ounce) chicken breasts, fat removed
seasoning of choice (lemon pepper, Santa Maria seasoning, Johnny’s Garlic Spread, etc.)
Cook pasta according to package directions. Drain.
While pasta is cooking, preheat grill (indoor or outdoor). Wash chicken breasts and pat dry with a paper towel. Season both sides of chicken breasts with your choice of seasoning (just about any herb goes well with lemon, so you’re pretty safe here). Lightly oil the grill. Grill chicken for approximately 6-8 minutes on each side, or until juices run clear (or until meat reached 165 degrees). Remove from heat, cool slightly, and slice.
Meanwhile (while pasta and chicken are cooking), heat oil in a large skillet over medium heat. Sauté parsley, lemon zest and garlic in oil until garlic is tender (be careful not to burn the garlic).
Add the drained pasta to the skillet. Add the sugar snap peas and sprinkle with lemon juice and season with salt and pepper, to taste.
Divide pasta among four plates. Top each plate with 1 tablespoon parmesan cheese and sliced chicken breast.
Serves 4.
Nutritional Information (Per Serving)
Calories: 224
Protein: 28.5g
Carbs: 24.1g
Fat: 2.9g
Fiber: 3.5g
Sugars: 1.6g